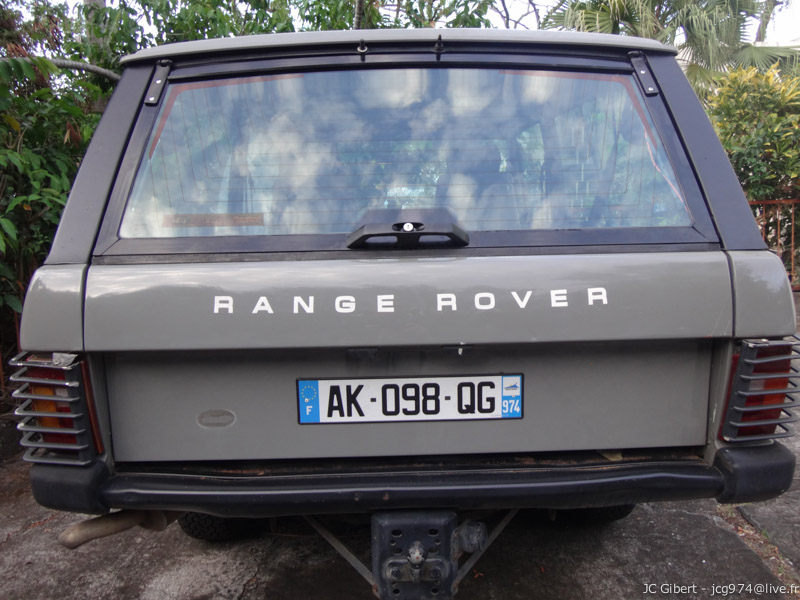
Tailgate
From afar, the tailgate looks ok.
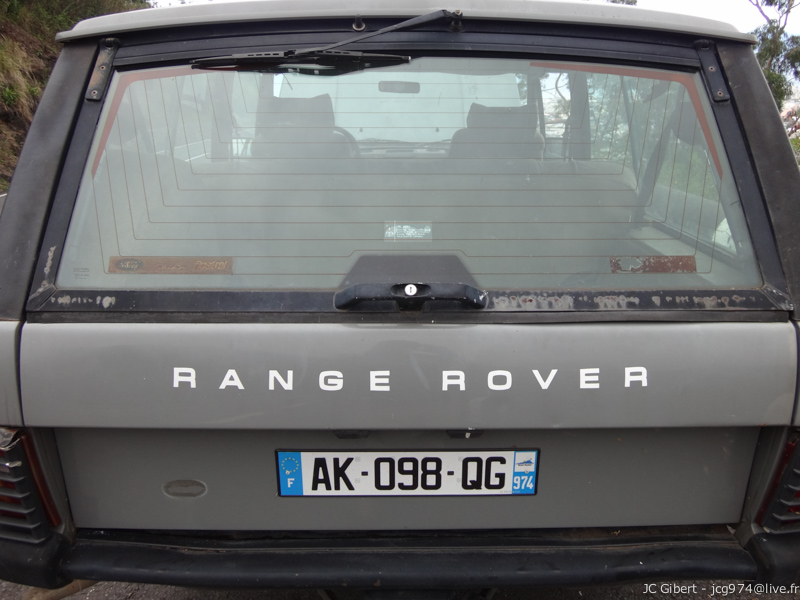
More closely, it's another story.
Actually, it's almost impossible to close it and when you do, it turns out that it's just as difficult to open.
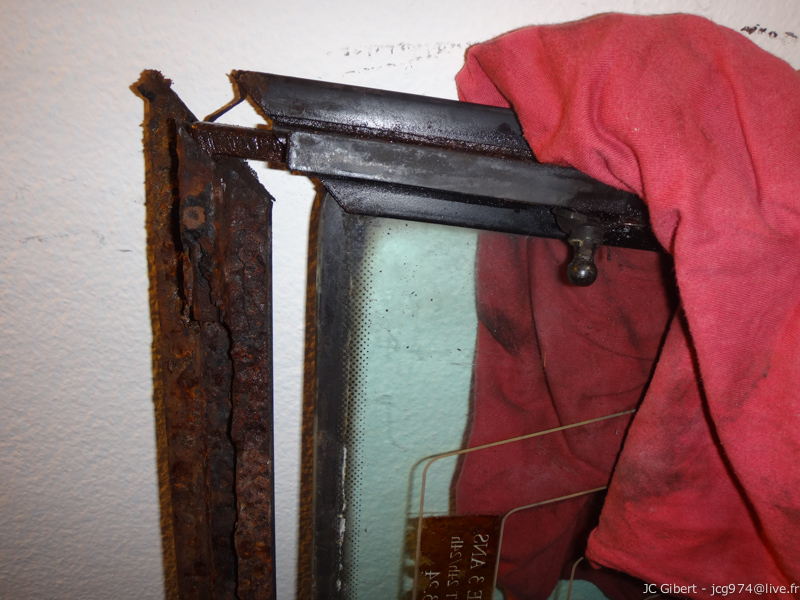
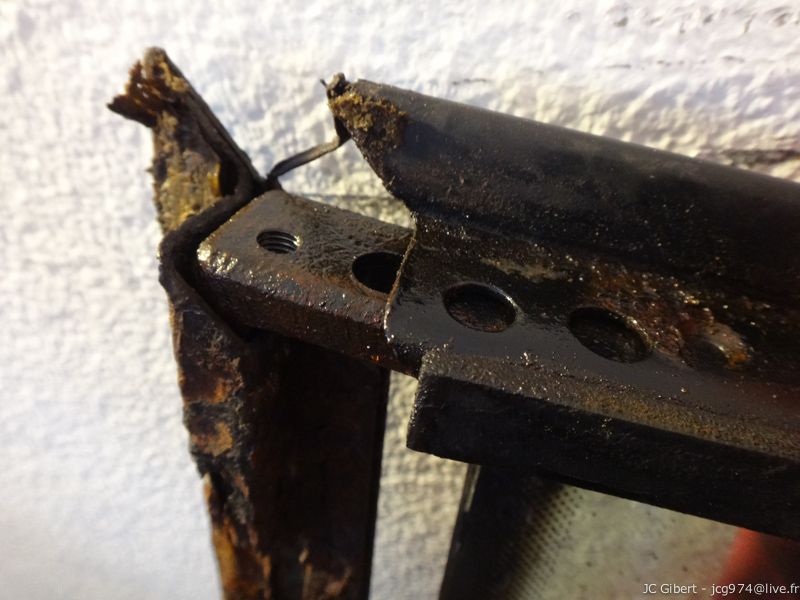
The reason why is simple, this tailgate is completely corroded (the most common disease on the Range Rover of this era)
Once open, you better realize :
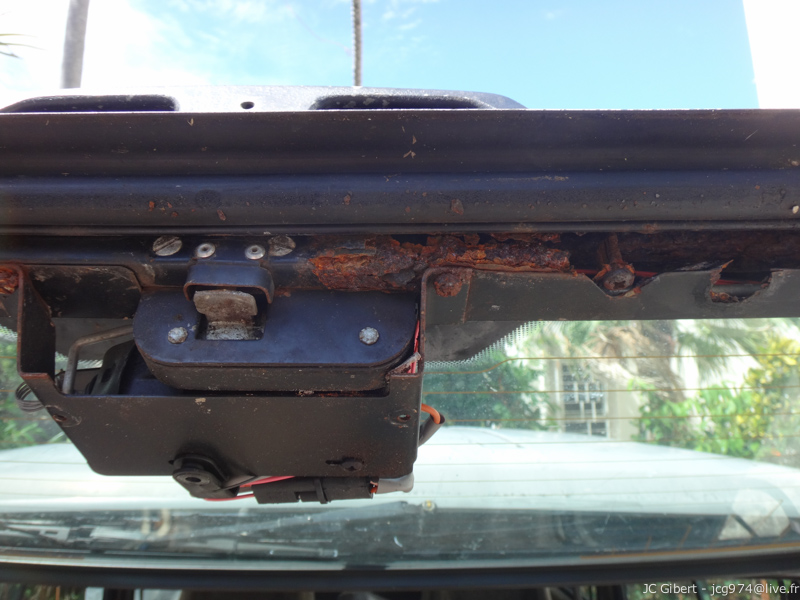
Obviously, repairing is impossible.
I looked for a new one.
In Reunion Island (where I live), a local dealer offered me a tailgate "ready to mount" for 800 to 900 €. Well...
I found some on the Internet, from 500 € (steel) to 600 € (alu).
It's a already cheaper and I'm going to buy it off tax, but I will still have to pay the local VAT (8,5%), the "octroi de mer" taxes (a fancy tax for overseas french departments, I don't know how much, it's a surprise), and of course the shipping charges.
Given the weight and the size of the part, it may be very expensive, except if it comes by boat, but then it' between 2 and 3 months.
Then I found on Famous Four again an aluminium kit, no glass, for 175 £ ( Link Famous Four )
It not really cheap, I have to add about 90 £ shipping charges.
But the time for delivery is just amazing. Ordered on line friday, package delivered at home wednesday. Five days to deliver from england to Indian Ocean... Woaw !
So at the end I got this, (with a manual hidden in the bottom of the box, I nearly throw it without seeing it) :
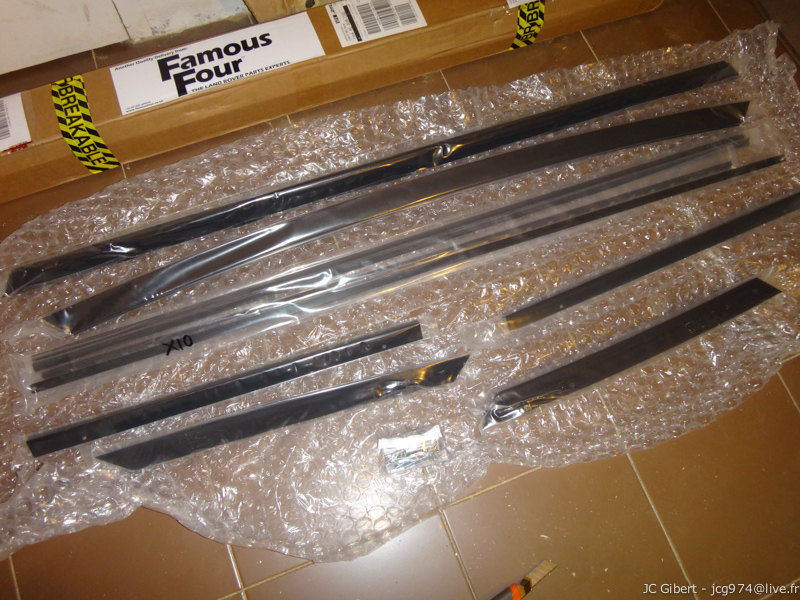
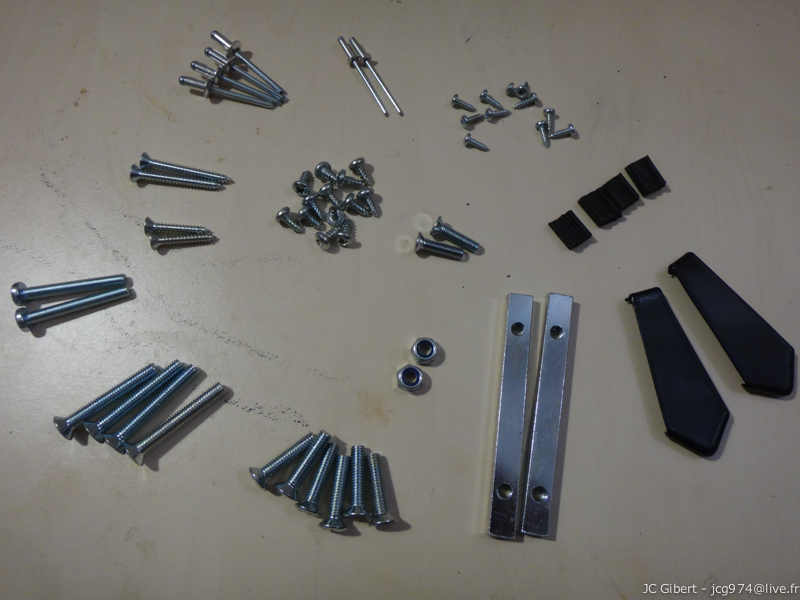
The main problem was to recover the glass of the old tailgate, without breaking it as well as the mechanism because the tailgate is delivered naked (No fittings or glass included)
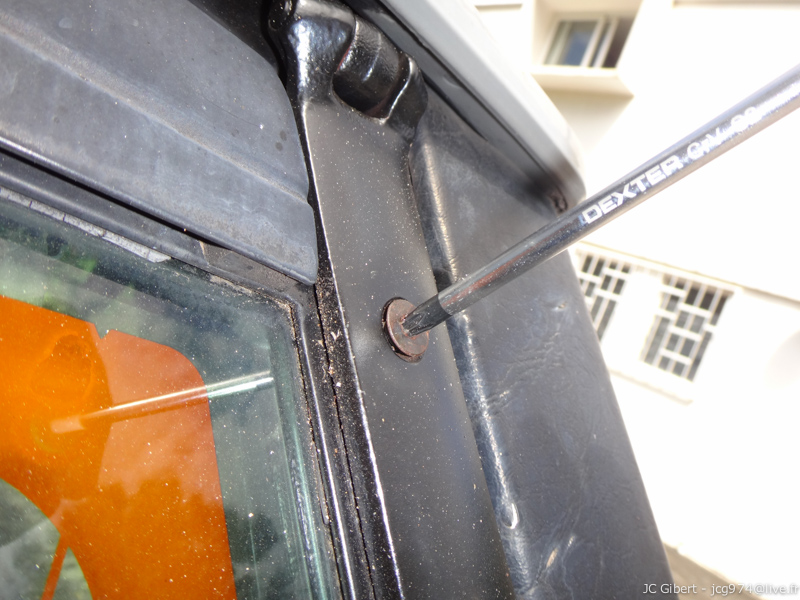
First of all, removing the tailgate itself. Remove the wires from the heater and central opening control. Deassembly the cylinders and remove the 4 large Torx screws. Ideally, I suggest to unblock the 4 screws before removing wires and jacks.
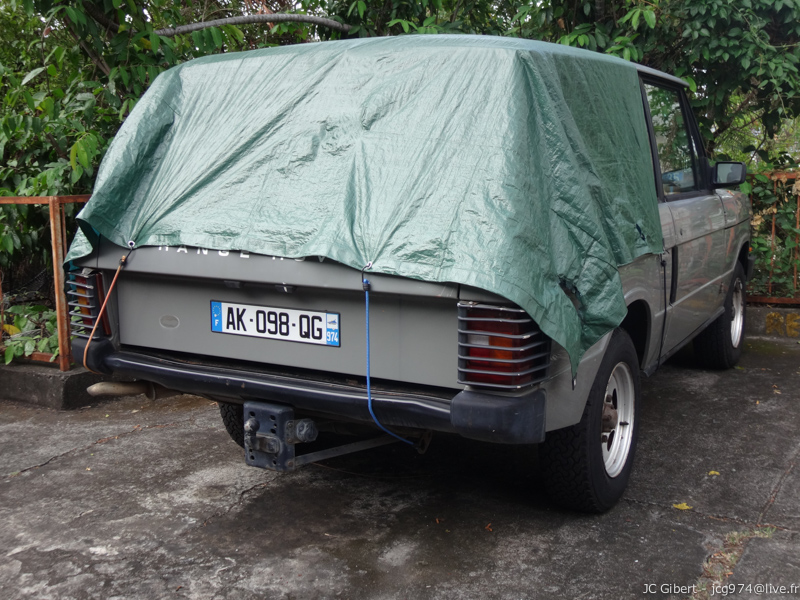
I put a tarp because as I said, my RRC is parked outside.
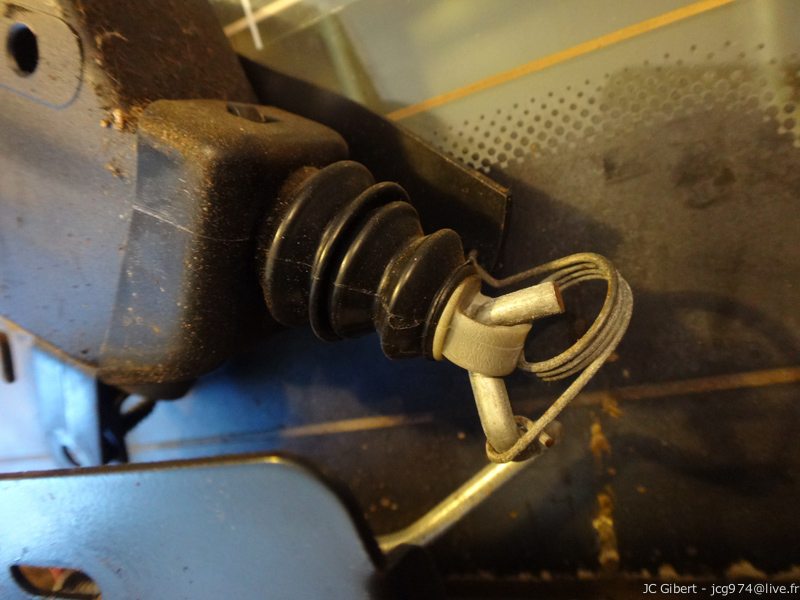
Then remove the fittings. Handle...
and central opening : Take care to the spring (I suggest to make pictures , it makes the operation much easier when you have to put it back) :
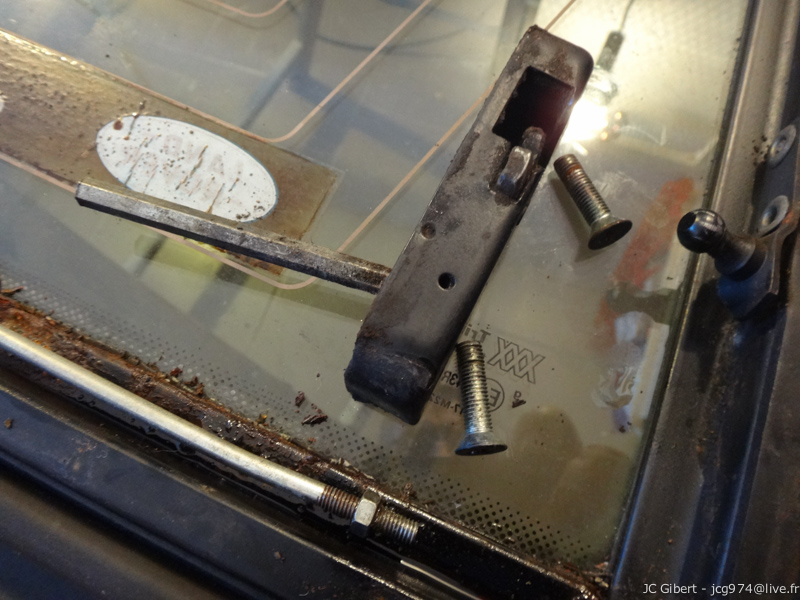
Then remove the lower profile (inner). An electric screwdriver can help for the rusty screws.
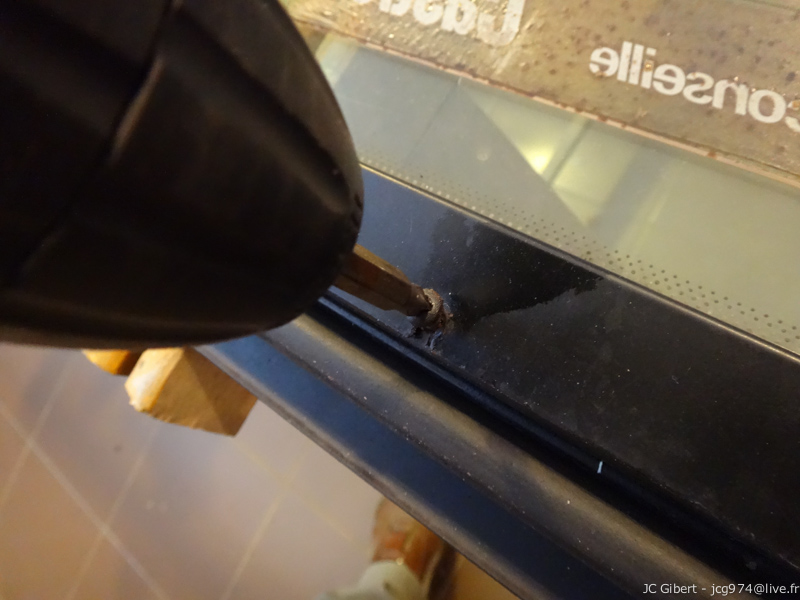
But sometime when the screwdriver is no help, the handsaw is the last optioN
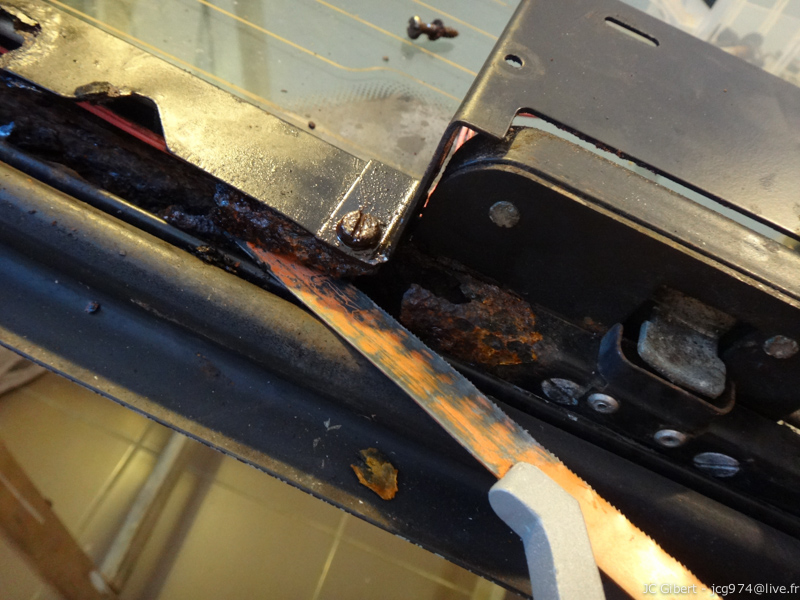
Once the first profile removed, we can see that the rust has made a great job !
Disassembly of the opening rods is done with two flat keys (7 and 8 mm)
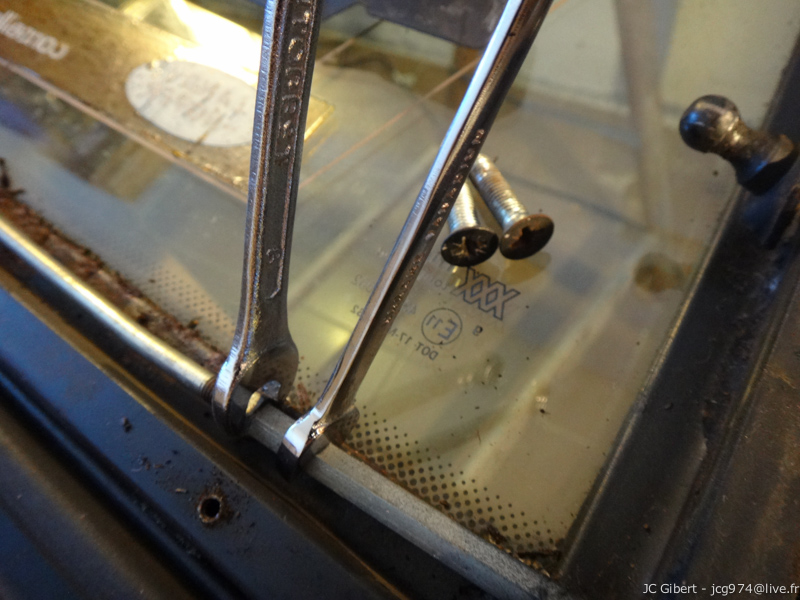
disassembly of the side latches.
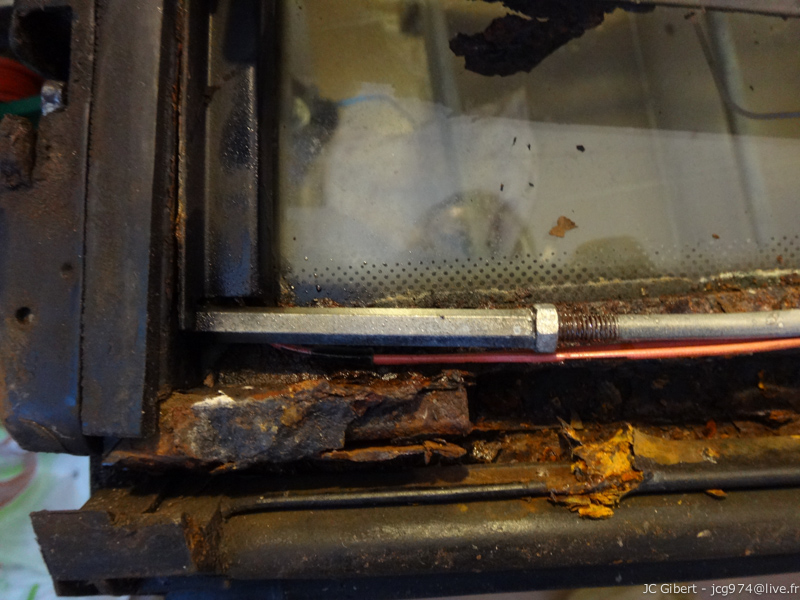
We can then completely remove the inner profile with a good mallet, a little patience and a lot of Transyl.
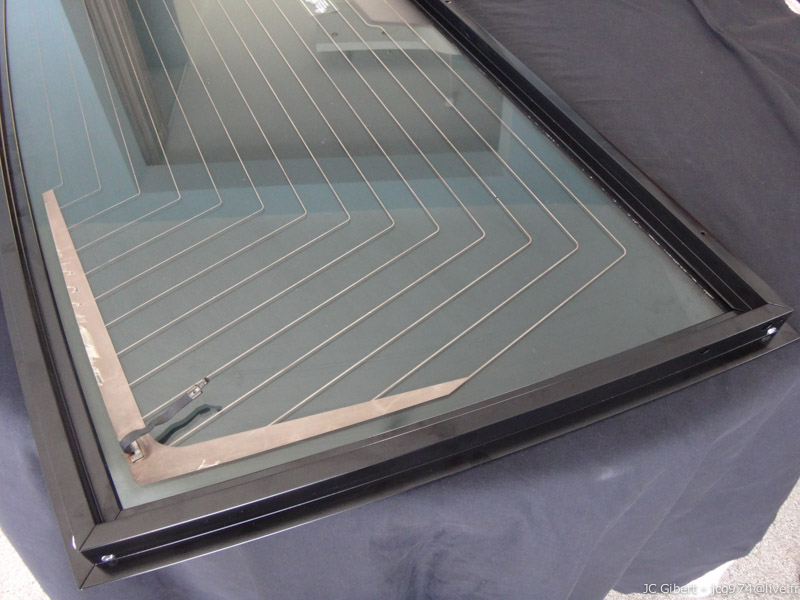
In theory, the glass could slide to exit now down the tailgate, since the frame is open (bottom).
But in practice, it's still well stuck by rubber glue (seal) on the three profiles that remains on top and both sides.
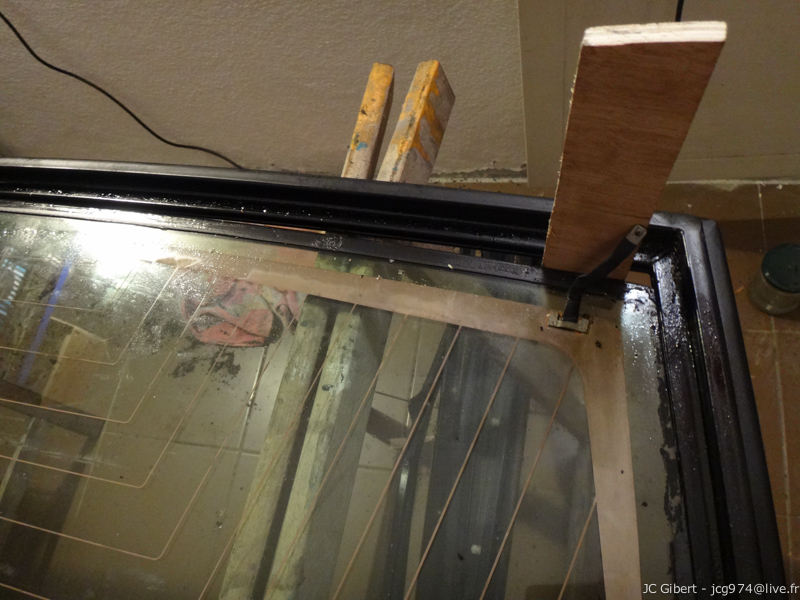
So you must proceed by : first remove the trim that protects the upper profile (a screwdriver to leverage, it clears easily) :

Then thee game will be stretching the two sides. To do that, I used long wooden wedges and clamps for woodworking, in a reverse position.
A little spreader, a little lubricant, a little space won, a little spreader, etc...
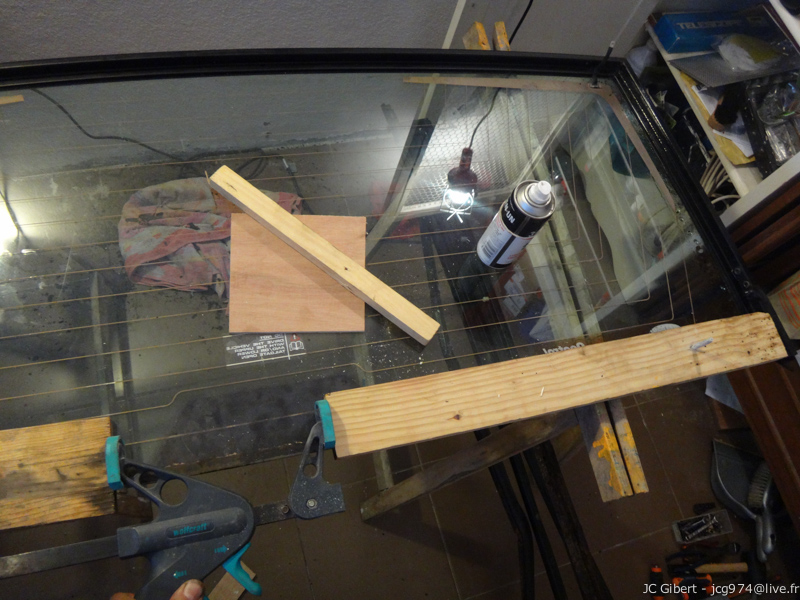
When it start to open enough, place a piece of wood, so you can get somme space on the other side without loosing what you already acquired.
In the end, the glass eventually comes out.
WARNING : Always go firmly but gently to avoid breaking the windows. No steel tools ! Only wood or plastic should touch the tailgate.
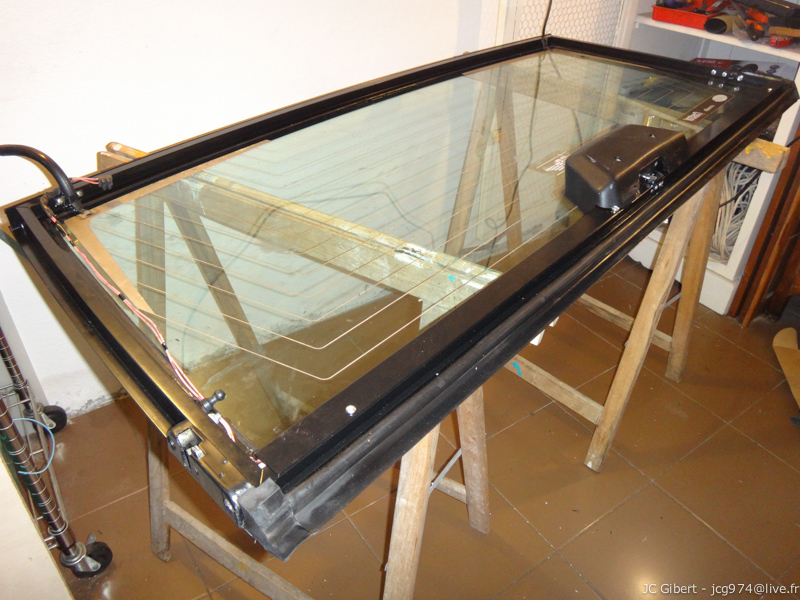
Disassembly is complete,
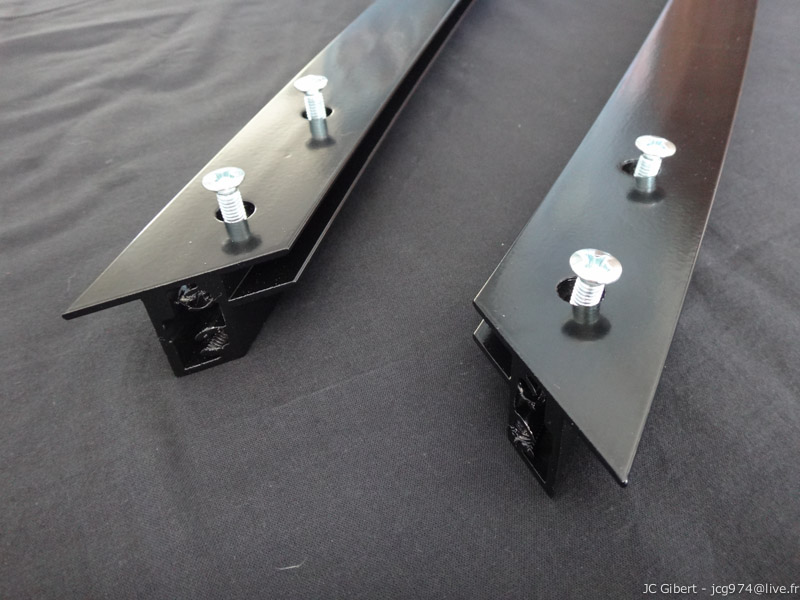
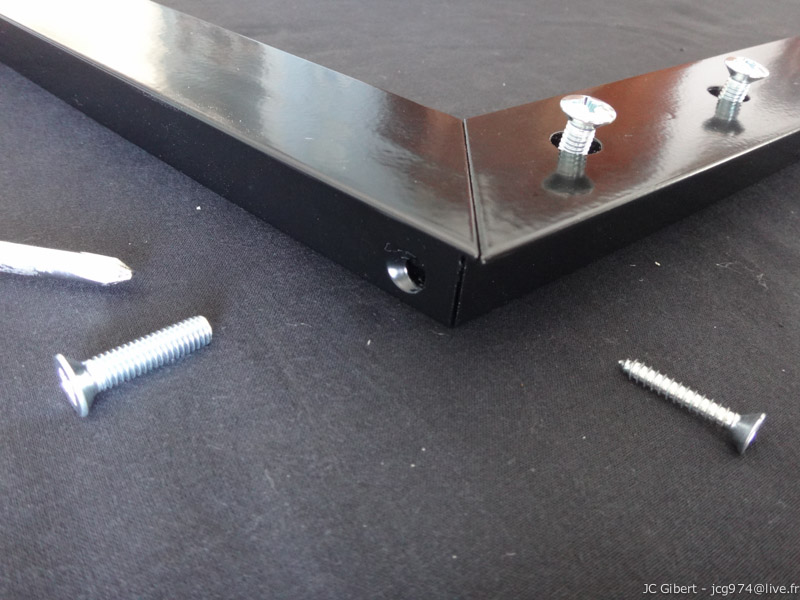
The assembly of aluminium profiles starts a bit like a fairly simple construction game :
Mostly read the instructions and be sure to understand what needs to be done before acting...
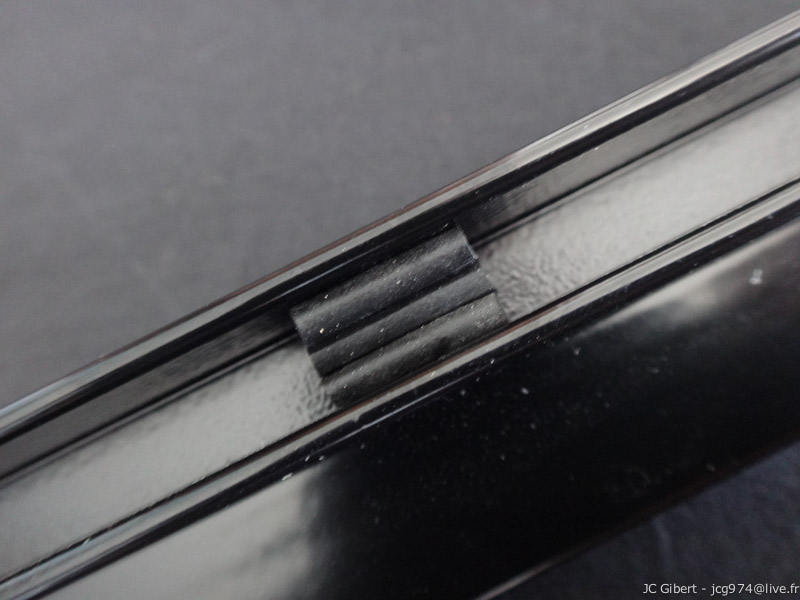
Before positioning the window, small rubber wedges must be inserted to allow the glass to center in the profile.
The most delicate is undoubtedly the upper profile which hinges only by screwing.
A little surprising because at first you may wonder how this rectilinear piece is supposed to take a rounded shape to fit the glass ?
But it works very well. Again look well at the diagrams to understand what needs to happen.
The lower rubber seal introduces a little force into the profile.
Lubricating it beforehand with teflon grease or washing up liquid helps a lot
A flat screwdriver used with delicacy, too.
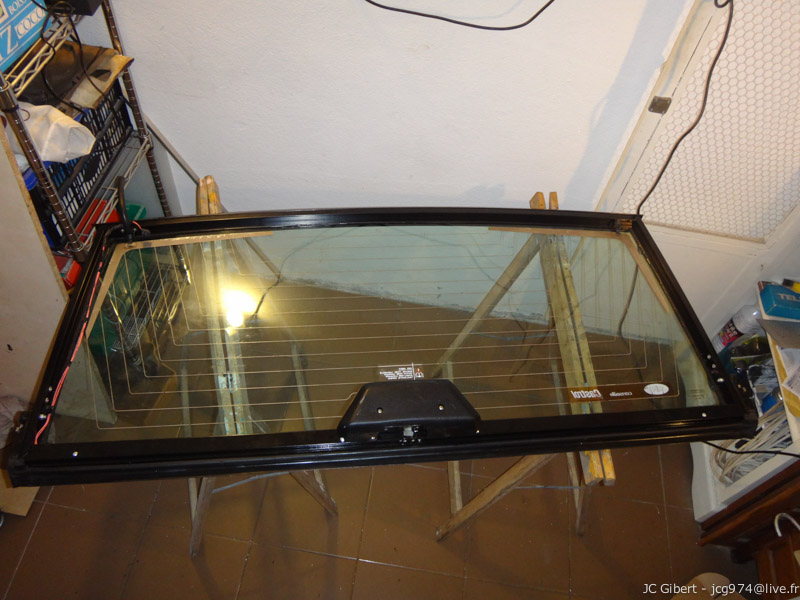
In the picture below, wa can still see the red wire of the centralized closure.
I think there was maybe a small profile to hide it but I could'nt get it back.
In the end, I will hide it by sliding it in a black sheath that will go down along the main profile.
The rest does ot present any particular difficulty except that you probably will have to be two to present the tailgate in front of the hinges and screw de fastening screws?
The cylinders are handed over last.

"Et voilà !"
Afterwards, I will also change the handle (included in a lock kit with Neiman and door locks)